Your Personal Retro Gaming Console (for under 90 USD)
 So, there you have the RetroPie SD-card Image and you know that you could use it as software base for your very own game console. But what things do you actually need to get for it? What hardware do you need and what could be the first steps with it? This article provides a step-by-step guide and shows how to get a game console for less than 80 EUR (about 85 USD).
As you will see, it will take you only a few minutes to get things running. But first of all, we need to go shopping:
Shopping List
The first thing to do is to get all the needed hardware. Besides your local electronics dealer you could also order all needed components from one of the official Raspberry Pi distributors like RS-Components or Farnell. Here is a complete list of components that are needed for a RetroPie game console. The prices below are simply taken without further looking for best-prices, but you are likely to find lower prices with a little search:
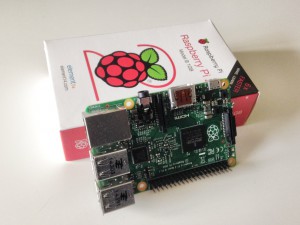
- Raspberry Pi 2, 39,50 EUR

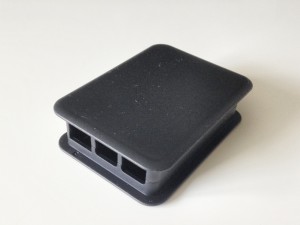
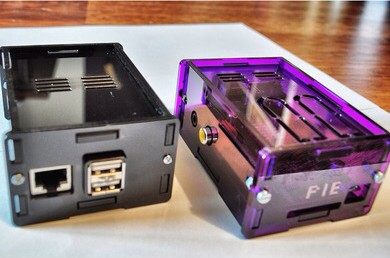
- Case, black/white/transparent, 7,70 EUR

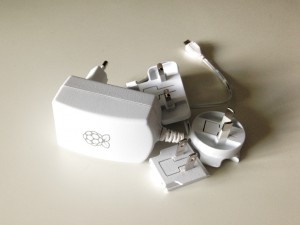
- Official Raspberry Pi Power Supply,
8,60 EUR
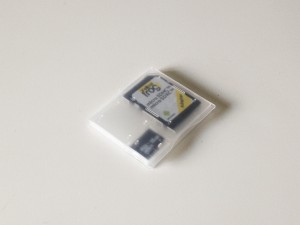
- 8 GB SD-card,
8,70 EUR
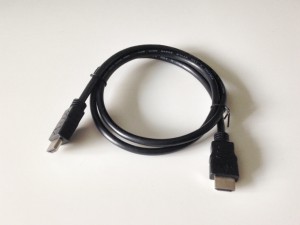
- HDMI cable,
6,30 EUR
- Game Controller
This really depends on your preferences. There are gamepads that are quite cheap, but often these controllers are of poor quality. If you are willing to pay a little bit more, you can get good universal gamepads for around 20 EUR. If you want to dig a little bit deeper into this, there is a forum thread where the RetroPie community talks about the experiences they made with various controllers.
starting at 9 EUR
The total costs for your Retro Gaming Station would be 79,80 EUR (depending on your choice of gamepad, plus shipping). In USD this would be around 84 USD.[/box]
Hardware Assembly
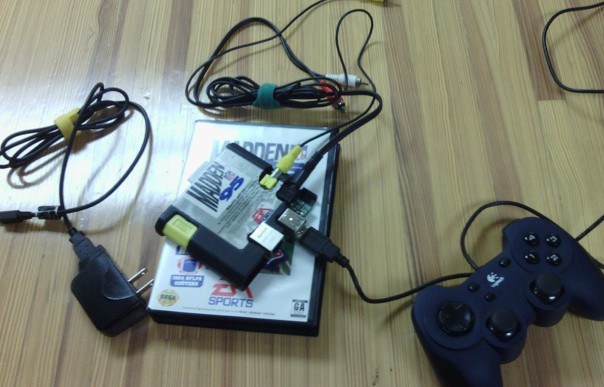
With all the above components in your hands you can start with the assembly. This is actually very easy and usually you do not have to be afraid to break something! Here are the steps:
- Put the Raspberry Pi into the case.
- Connect your screen/TV via the HDMI cable with the Raspberry Pi.
- Connect your USB gamepad with the Raspberry Pi.
- Before you put the SD-card into the Raspberry Pi, download the lastest RetroPie image and put it on the SD-card. This is explained in more detail below.
- To start your gaming station, put the RetroPie SD-card into your Raspberry Pi and connect the micro USB cable with the Pi.
Software Installation: Getting RetroPie on the SD-Card
To get the latest version of RetroPie, head to the official Downloads page and download the image from there. Besides directly downloading the image from the website, you can use BitTorrent to get the image. You can find the magnet links to the torrents on the individual image pages.
Once downloaded you have to extract and copy the image to an SD card. This is done in the same way you install other RPi images like Raspbian. A tutorial about this that (written by the RPi community) can be found here. If you use a Linux platform or a Mac, you can use, e.g., the following instructions:
- Check file integrity via
shasum RetroPieImage_verX.img.gz - Unzip with
unzip RetroPieImage_verX.img.gzor with any archive program, e.g., 7-ZIP. - Put the SD card into you RPi, e.g., with the “dd” command or Win32DiskImage, start it. The front-end “Emulation Station” starts automatically.
- If your SD card is larger than 4 GB, you need to expand the root file system in order to use the whole SD card. Go into the shell by pressing F4. Run
sudo raspi-configand choose “expand root fs” from the menu. You need to restart your RPi afterwards. - You need to copy ROMs to your gaming console: THerefore, you could use, e.g., a USB stick, the SAMBA shares, or an SFT client.
Configuration and Start Gaming
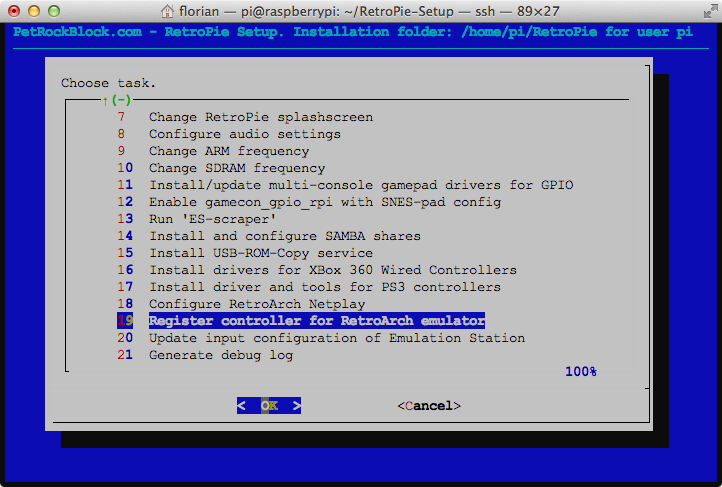
Once turned on, you will see the RetroPie splash screen after a few seconds and, after another few seconds, the front-end “EmulationStation” starts and asks you to do a controller configuration.
The front-end shows only systems for which ROMs have been loaded on the Raspberry Pi. There are various ways to get ROMs on it:
For further details the above ways have been linked to corresponding tutorial in the official RetroPie Wiki.[box type=”info” align=”alignleft” class=”” width=”100%”]Note that the RetroPie Wiki is driven by the RetroPie community. If you find something to add or change, you are always welcome to contribute![/box]
Possible further Steps
If you are eager to go some steps further, here is just a very limited list of ideas for inspiration:
Take part in the RetroPie Forum
Do you have any questions around RetroPie or retro gaming on the Raspberry Pi in general? Or would you like to help other people with questions about RetroPie? The RetroPie forum is out there, waiting for you!
Submit Bugs, Bug Fixes, Feature Requests
The RetroPie Project is an open-source project and relies on the feedback and voluntary work of the RetroPie community. And if you are reading this, you are already part of that community :) The core scripts for installing, configuring, and maintaining a RetroPie installation are hosted at Github. The active development of RetroPie takes place there. You can create issues to report bugs, or propose new features. Or you might want to directly create pull requests, if you want to contribute on a source-code level!
Customize Your Splashscreen
If you want to give your RetroPie installation your individual design touch, you could, e.g., change the splashscreen. The RetroPie community has already published a wide range of different screens, which can be found in the forum. Instructions for changing the screen can also be found there.
Use Original Controllers
If you want to take the retro-gaming experience to a next level, you could aim for using original game controllers. There are many tutorial out there with various levels of detail. The GPIO Adapter and the ControlBlock are two possible ways for connecting original controllers with a Raspberry Pi.
Build your own Arcade Machine
People have written about their own projects in the dedicated RetroPie forum. Maybe you would like to build a whole arcade case or a portable gaming station? Get some further inspiration in the “Peoples Projects” forum.
Conclusion
A retro gaming console based on the Raspberry Pi can be built for under 90 USD. The assembly and software installation is very easy and takes only a few minutes. If you get curious after your first steps with RetroPie, a whole world of interesting and fun topics is at your feet.
RetroPie is build upon the voluntary work of many people. We hope that you enjoy RetroPie as much as we do. As long as people share their ideas, feed their RetroPie modifications back to the RetroPie Project, and are willing to contribute and help, the project can live on.

Does the retro pi image contain roms or do you have to find them from other sites.?
RetroPie runs well, great to get started for an emulated machine, this or get an old Xbox to mod.
Also EmulationStation is great but it does’nt allow to see the rom files names, so it’s impossible to differenciate european roms from japanese or US roms. It would be great to see the full rom name, or a flag icon or to have a possibility to filter roms by certain criteria by looking for codes and tags in their names.(list: https://en.wikipedia.org/wiki/GoodTools#Good_codes).
And I desperately try to make my Neo Geo X arcade controller work but it isn’t detected by emulationstation nor retroarch-joyconfig.
Hi, thanks for the tutorial and for all your great work on RetroPie, it has been a huge help for me since I don’t know much about linux command line instructions and emulators configuration.
You should contact this guy => https://www.youtube.com/channel/UCqGtakEDyFuc_Ic6Cn5rjig
He has created his own distribution based on RetroPie
(http://happi-game-center.com/) and has done a lot of tweaks on the emulators and selected the best shaders and filters so the image would be the closest of the original console, together you probably could take this project (or both) to a whole next level.